Pickled Okra Recipe
Preserving summer’s bounty has never been easier with Pickled Okra, a crisp and tangy southern staple that’s perfect for snacking, salads, and charcuterie boards. Pickled Okra is simple to make at home, using basic pantry ingredients for a delicious, crunchy treat free from preservatives.
This recipe delivers a satisfying brine, infusing tender okra pods with hints of garlic, dill, and black pepper, making them irresistible after just a few weeks of curing. Whether you’re new to canning or a seasoned expert, this step-by-step method ensures success.
Key Ingredients for Pickled Okra Success
- Okra – Small, tender pods are essential for the perfect crisp bite and best flavor absorption.
- Garlic Cloves – Infuses the brine with aromatic depth, balancing the tang of the vinegar.
- Canning Salt – A pure, additive-free salt crucial for a clean, bright pickled flavor.
- Dill Seed – Adds a distinctive, herbaceous note that’s a signature in classic pickled vegetables.
- Whole Black Peppercorns – Bring subtle spice and complexity without overpowering the other flavors.
- White Vinegar (5% acidity) – The backbone of the brine, providing the essential tanginess and preserving power.
- Water – Combines with vinegar to mellow the acidity for a perfectly balanced brine.
How to Make Pickled Okra: Quick Overview
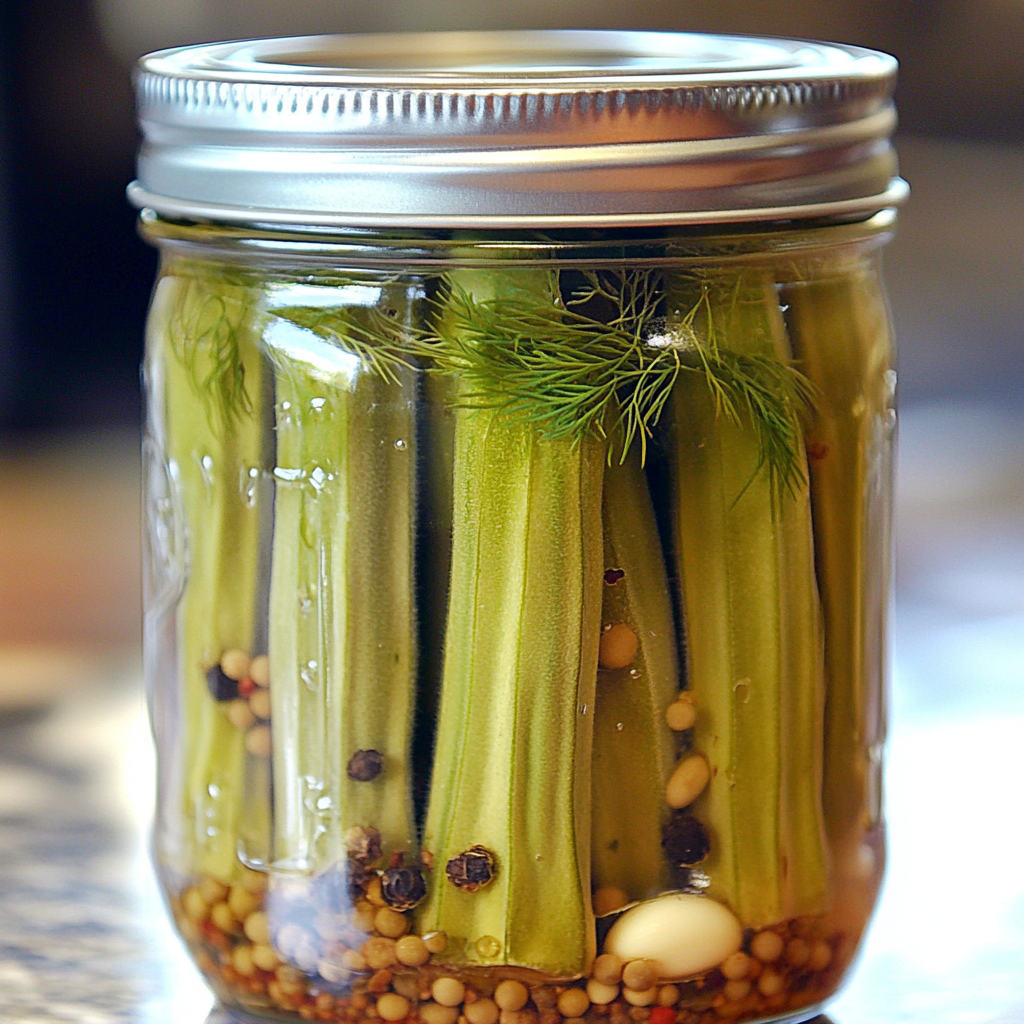
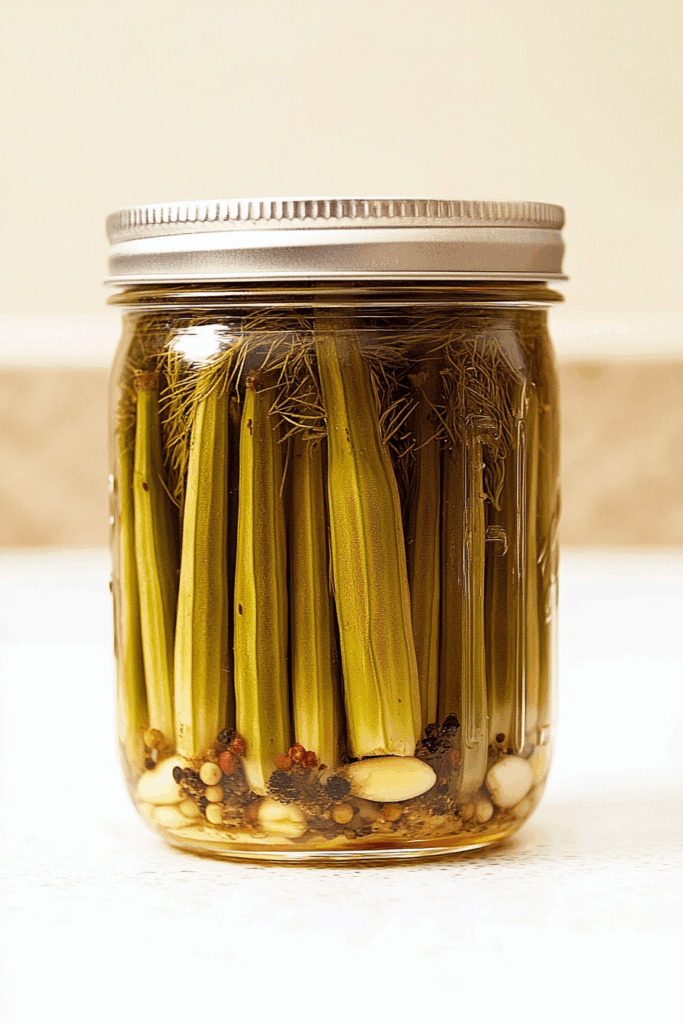
Start by sterilizing jars, lids, and rings to ensure a safe canning process. Pack the okra tightly into the hot jars, tips facing upward, and add garlic, salt, dill seed, and peppercorns to each jar. Finish packing the jars with more okra, fitting them snugly without crushing.
Bring the vinegar and water to a rolling boil, then carefully pour the hot brine into each jar, leaving about a ¼-inch headspace. Wipe the rims clean, seal the jars with lids and rings, and process them in a boiling water bath for 10 minutes. Allow the jars to cool completely and let them sit for 4–6 weeks before tasting for the best flavor development.
Tips and Tricks for the Best Pickled Okra
For optimal texture, always choose young, small pods, as older, larger okra can become tough and fibrous. Only trim the very tops of the pods if necessary, being careful not to pierce the pod itself, which can cause sliminess. Packing the jars tightly but gently is key—crushed okra won’t pickle properly. Always ensure your jars are fully sterilized to prevent spoilage, and don’t skip the water bath processing, which guarantees shelf stability.
Experimenting with flavor variations is easy—try adding a pinch of red pepper flakes for a spicy kick or a few mustard seeds for extra zest. Customize the level of garlic and dill to match your taste preferences without compromising the pickling process.
Storing Your Pickled Okra: Keep It Crunchy
Once the jars have cooled, check the seals carefully—any unsealed jars should be refrigerated and consumed first. Properly sealed jars can be stored in a cool, dark pantry for up to one year. For best quality, wait at least 4 weeks before opening to allow the flavors to fully mature. Once opened, store the jars in the refrigerator and enjoy within a month for peak crispness and flavor.
Pickled Okra
Ingredients
- 3 teaspoons dill seed
- 2 cups water
- ¾ teaspoon whole black peppercorns
- 2 cups white vinegar 5% acidity
- 3 cloves garlic peeled
- 2 ½ pounds okra preferably small and tender pods (quantity may vary slightly)
- 3 teaspoons canning salt
Instructions
- Sterilize the jars, rings, and lids by washing them in hot soapy water, then submerging them in boiling water briefly to prepare them for canning. Carefully pack the sterilized jars with okra pods, tips facing upward, filling each jar as much as possible without crushing the pods. Into each jar, insert one peeled garlic clove, sprinkle 1 teaspoon of canning salt, 1 teaspoon of dill seed, and add ¼ teaspoon of whole black peppercorns. Continue adding more okra pods, this time with the tips facing downward, arranging them firmly but gently to maximize the space without damaging the produce. In a medium-sized saucepan, bring the white vinegar and water to a vigorous boil. Immediately pour the hot brine into the jars, ensuring a ¼-inch headspace from the rim. Seal the jars with their prepared lids and rings, and process them in a boiling water bath for exactly 10 minutes. Once processed, remove the jars carefully and place them on a clean surface to cool undisturbed. For optimal flavor, allow the pickled okra to mature for 4–6 weeks before opening.